


Tracing Digital Pattern Photographs
Digitizing or tracing patterns in Cameo Pattern Design is a fairly simple process that can produce extremely accurate patterns. You will need a digital camera or smart phone with a camera to photograph your paper patterns.
Preparing to Trace a Pattern
Depending upon the complexity of the curved areas on your pattern, it may be helpful to mark complex curves on a pattern prior to tracing. Cameo Pattern Design uses arcs to create curves and each arc needs three points. By placing points along the curves on the pattern as suggested, you can more easily use the Arc (AR) command to trace the shape. To mark arcs, follow Figures 1-4.
- Place a ruler against the two farthest points of the curved shape. Mark a point at the deepest part of the curve (Figure 1).
- Place the ruler against one of the farthest points of the curve and the point just marked. Place a point at the deepest part of this curve.
- Continue placing the ruler and marking as many points as needed to accurately define the curved shape (Figures 2 and 3).
- Figure 4 shows points needed to trce the armscye shape. Two arcs can now be traced to create an extremely accurate representation of the curve.
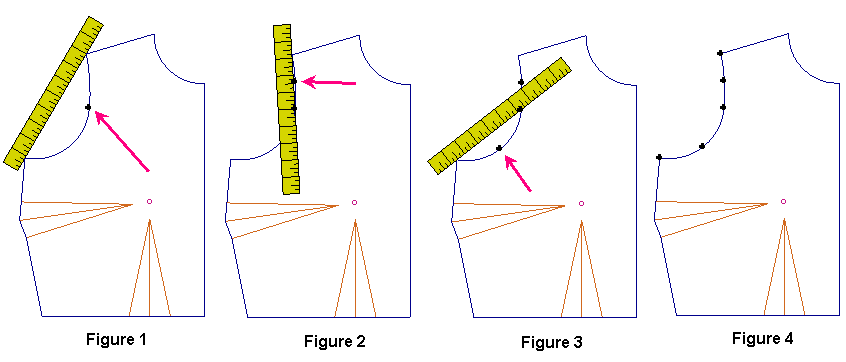
Figure 1
Calibration Squares
It is not possible to take photographs of patterns to their actual size and scale and so they must be rescaled after tracing. In order to accurately rescale the traced pattern, you will need a line of known size to compare to the same object after its been traced. Calibration squares are a simple way to add objects of known size to each pattern. I cut calibration squares from colored file folders or card stock. Squares that are 2 in by 2 in and 1 in by 1 in are usually sufficient for any pattern. Cut as many as you need and place inside the perimeter of each pattern.
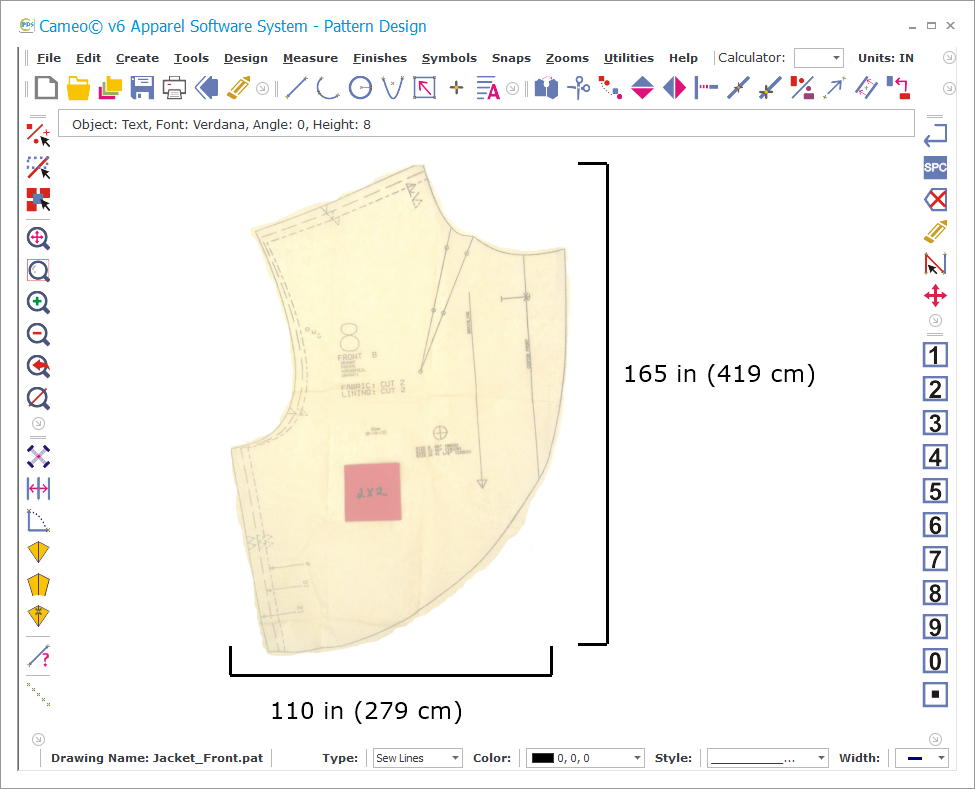
Figure 2
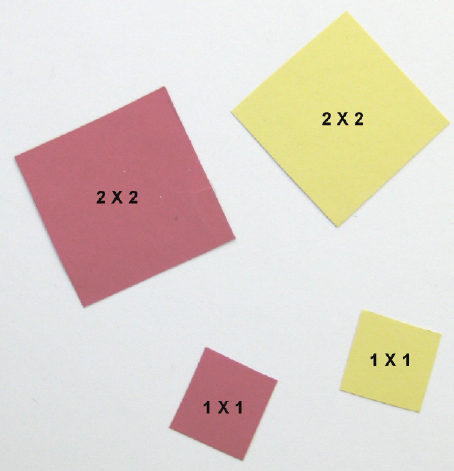
Figure 3
Taking the Digital Photograph
- Prior to photographing your patterns, iron each pattern piece flat.
- Lay the patterns out flat on the floor or table top. If photographing tissue paper, lay them on top of a light colored background such as a large sheet.
- You can also tape them to a blank wall if desired.
- Make sure each pattern has a calibration square.
- Take the digital photograph straight on using a tripod if possible.
- Upload the images from your camera or smart phone to your computer.
- Review the Editing Digital Photographs article on the Articles tab for help in taking digital photos. You may need to lighten the photos in your graphics editing software.
NOTE: DO NOT change the scale of the photographs.
Tracing the Patterns
- Open the pattern file to trace in Pattern Design. The file format can be a BMP, JPG, or PNG type file.
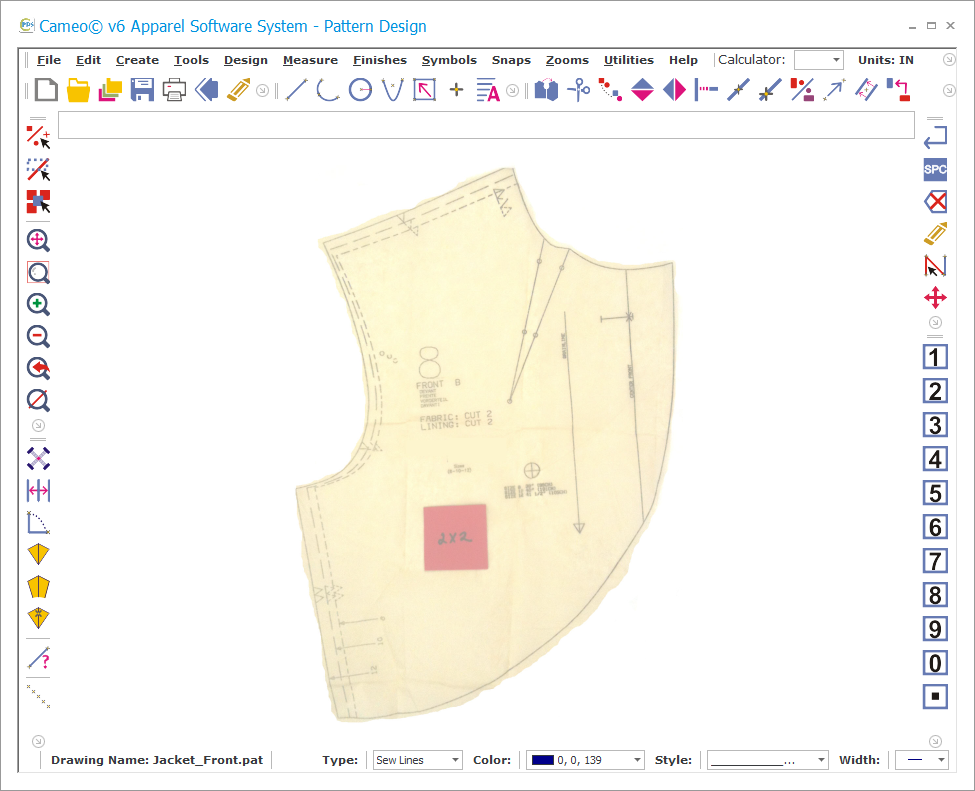
Figure 4
- Choose Object Settings from the Utilities menu and change the color to deep pink and the line width to 3. These settings will make it easier to see the lines and arcs agains the pattern image.
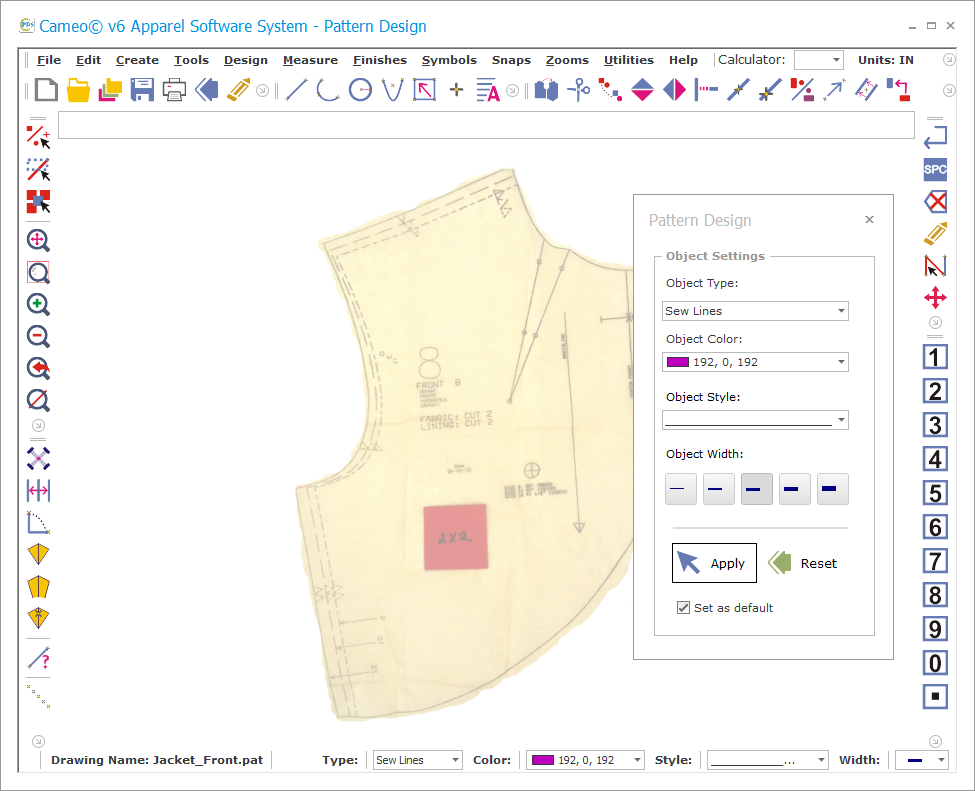
Figure 5
- Use either the Point (PO) tool to place points around the pattern as shown or use the Line (LI) and Arc (AR) tools.
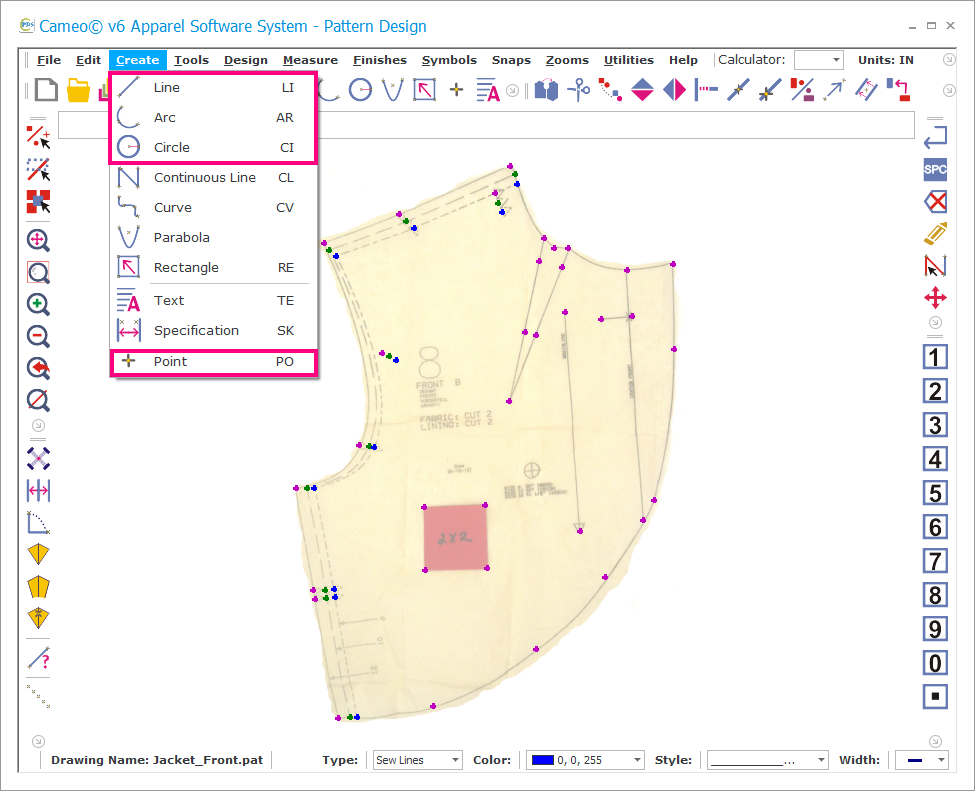
Figure 6
- Trace around the pattern. If using lines and arcs, be sure to use Snap Near Point (right mouse button) to connect the lines and arcs at each intersection. Review the Help guide on Clicking vs Snapping if you are new to using Pattern Design.
- Use the Zoom tools to zoom into each area to place objects precisely.
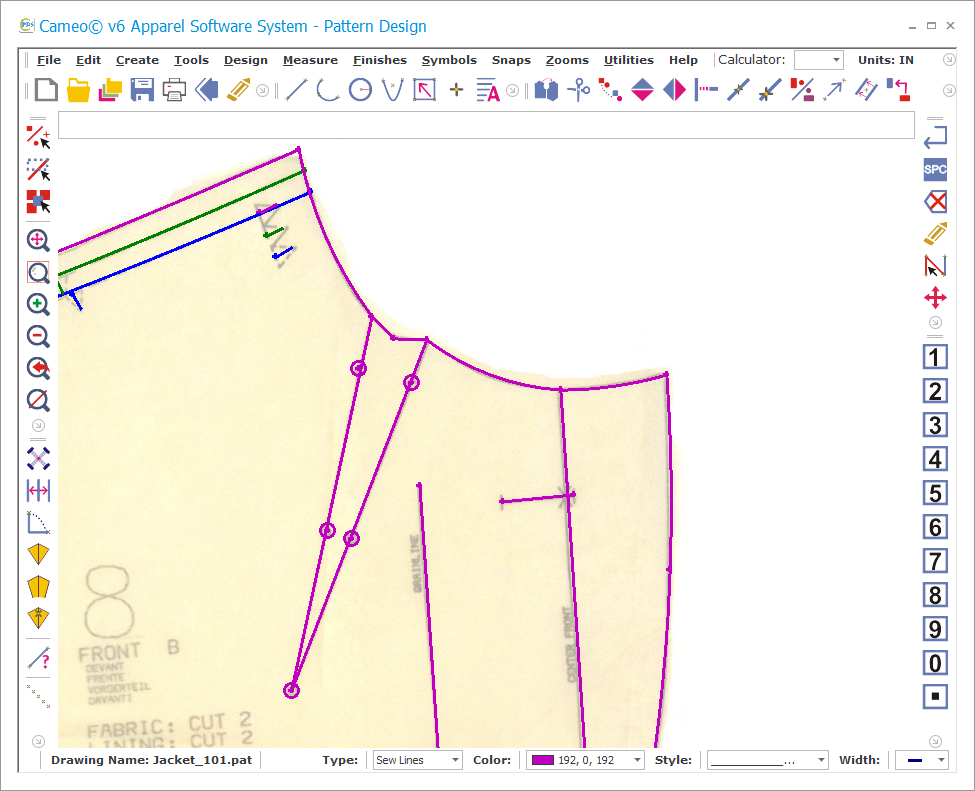
Figure 7
- If you are tracing a multi-size pattern, you can change colors as you trace around the patterns.
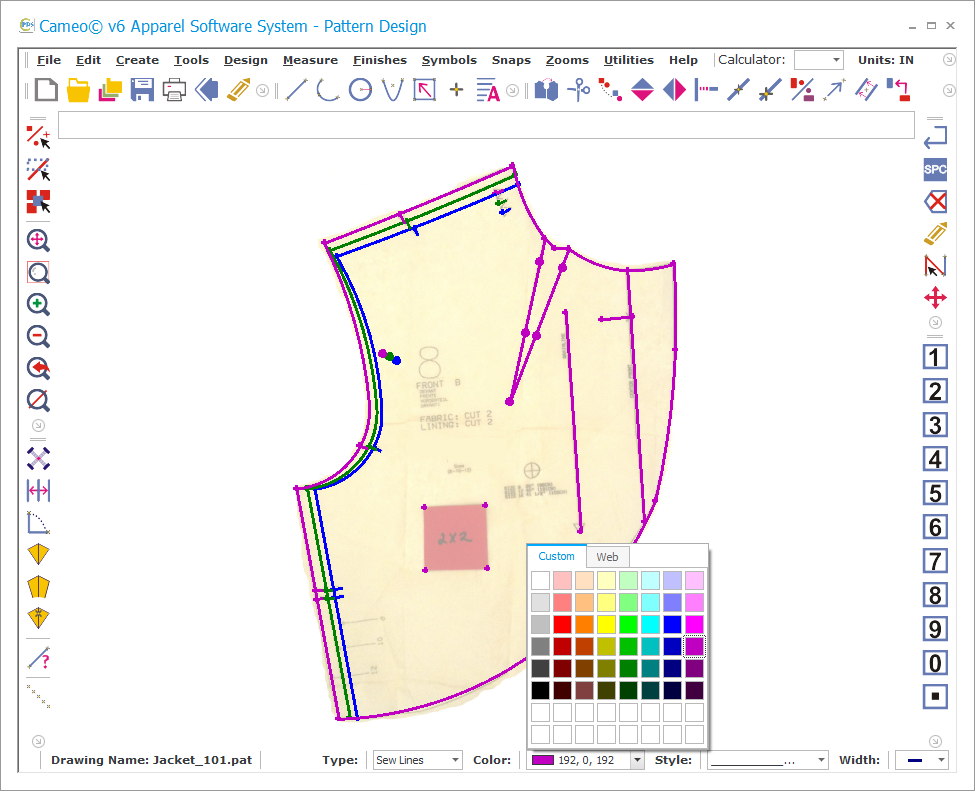
Figure 8
- Be sure to trace the grainline, marking symbols, and calibration square.
- If you have placed standard points that are no longer needed, select one of the points and choose Object Selection Filter from Edit menu to select all of the points. Press the Delete key to remove them.
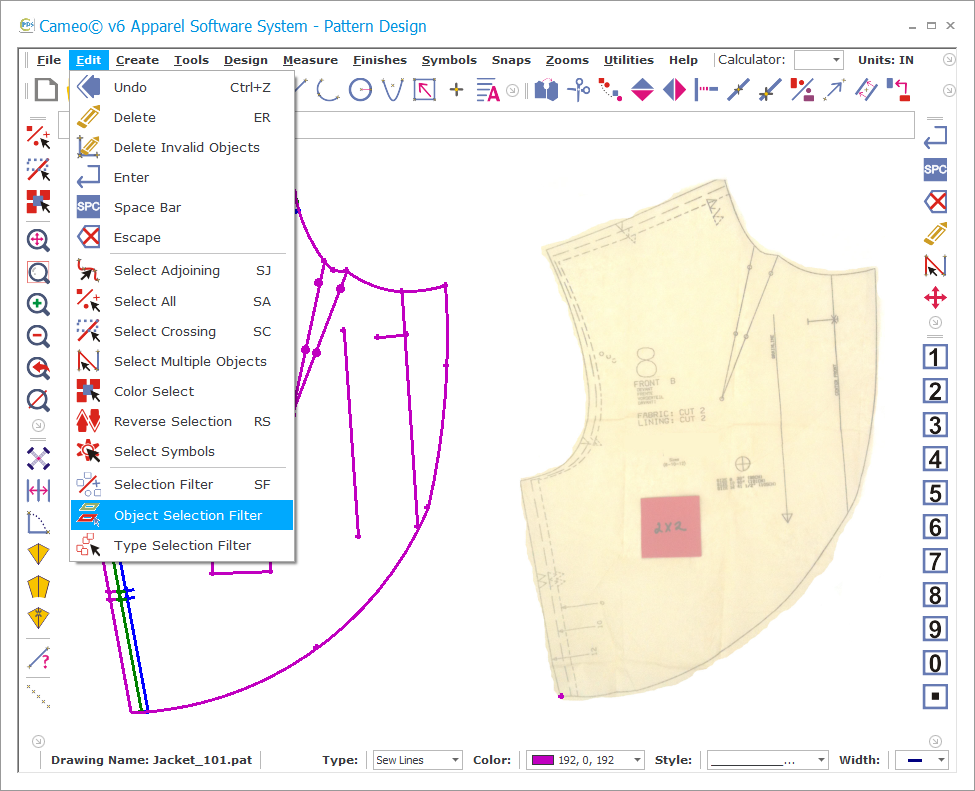
Figure 9
- Once you have completed tracing the patterns, delete the pattern image.
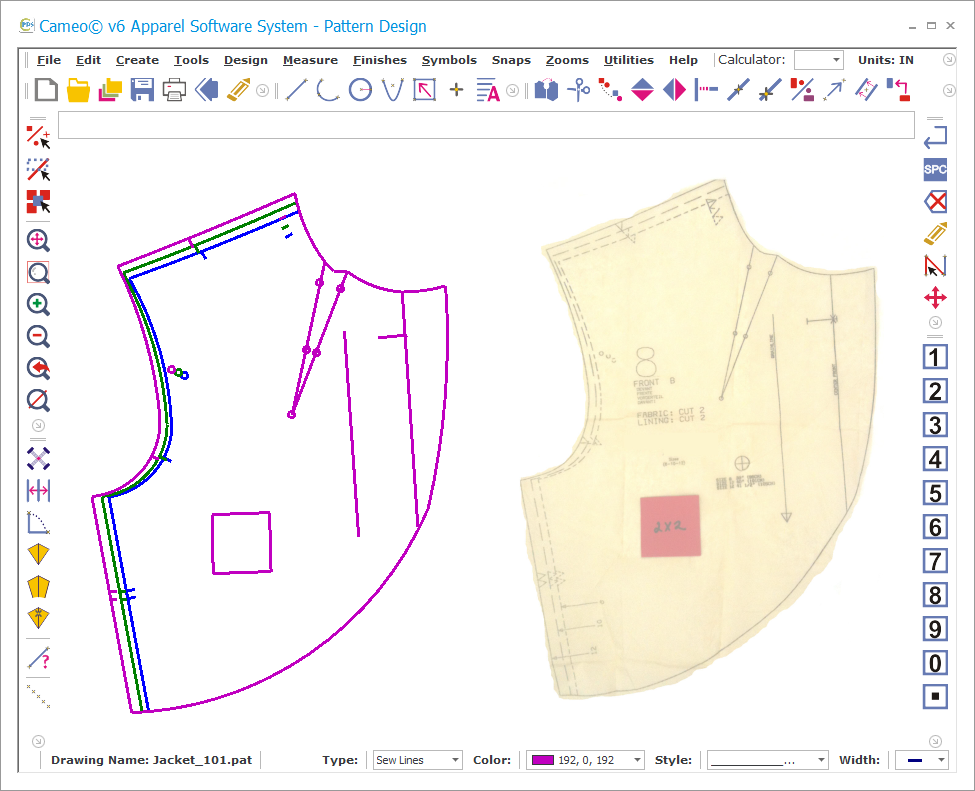
Figure 10
- Draw an exactly vertical line near the pattern and use the Align tool to align the grainline vertically on the screen.
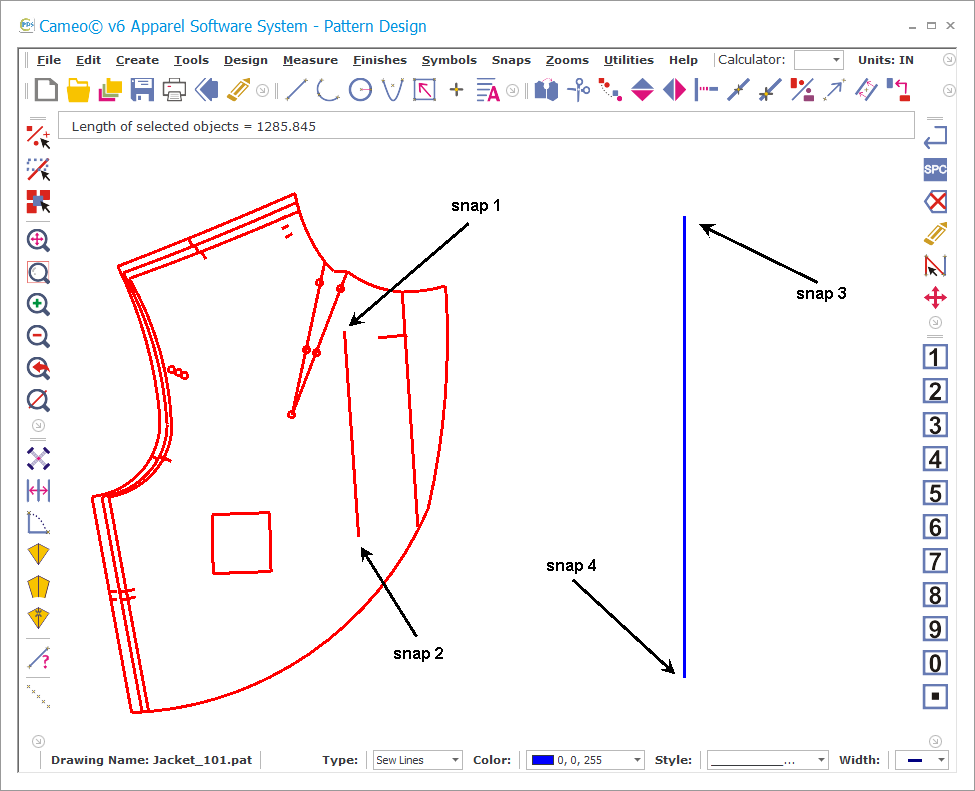
Figure 11
- Use Move Point, Intersect and other necessary editing tools to true the patterns where needed.
Scaling the Patterns
- Choose Calculate and Scale from the Utilities menu.
- To scale the patterns accurately, select one side of the calibration square.
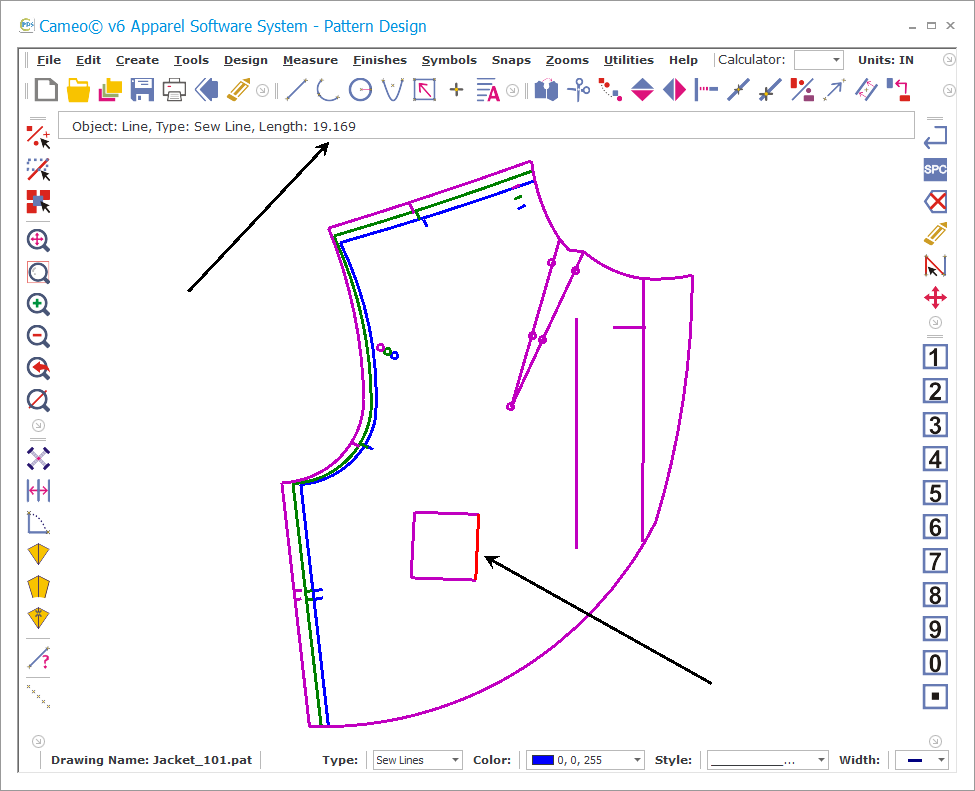
Figure 12
- Press the Plus sign next to the the Scale FROM box to place the length of the selected object in the box.
- Enter the original length of one side of your calibration square as the Scale TO.
- Select the pattern(s) to scale. They will turn red once selected.
- Press the Apply button.
- Your patterns should now be the exact scale they are on paper.
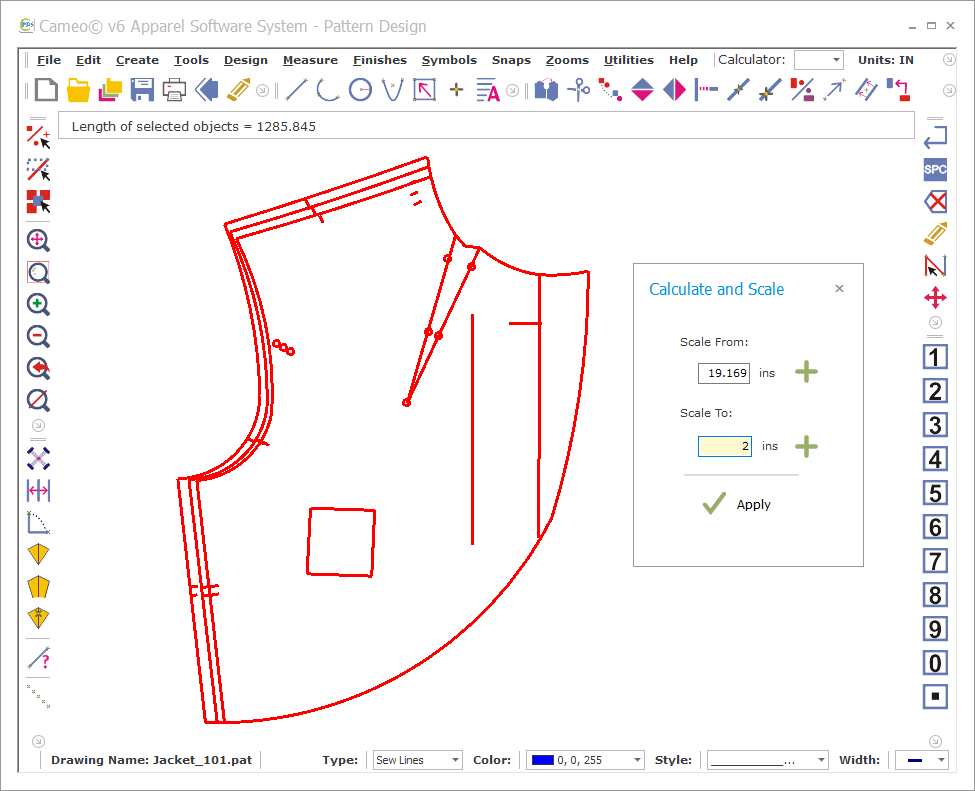
Figure 13
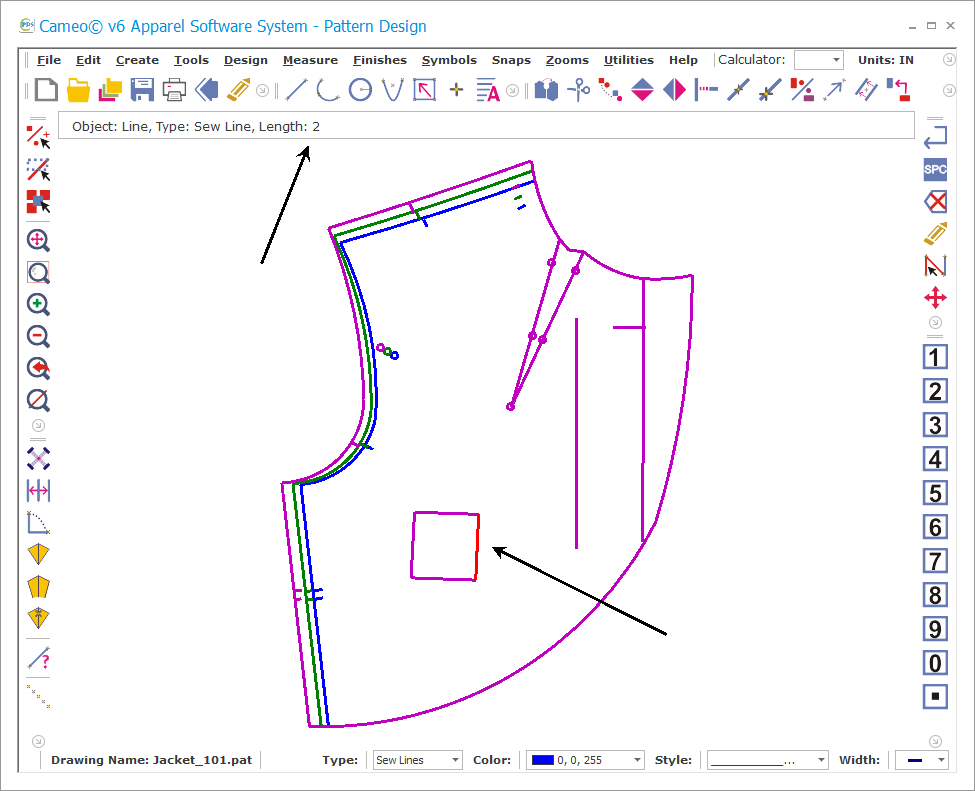
Figure 14
Finishing the Patterns
- To finish the patterns, Select All (SA) and then choose Change Object Settings from the Utilities menu.
- Set the desired line color and change the line width to 1 and press Apply.
- Use the Text (TE) tool to add any desired text.
- Save the patterns.
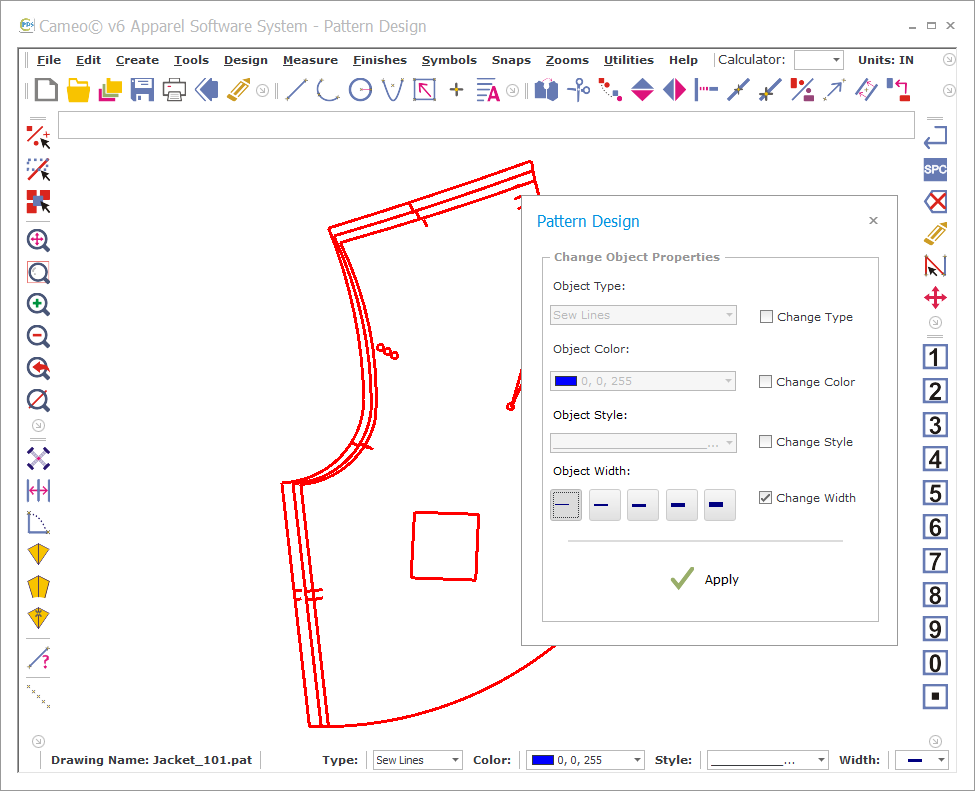
Figure 15
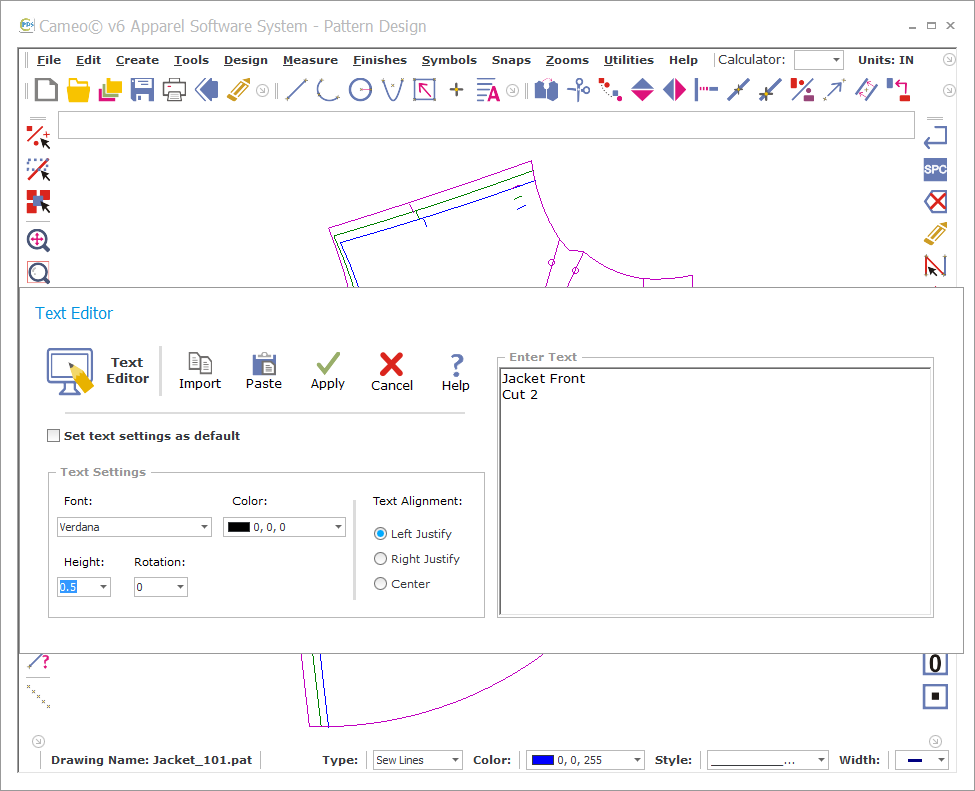
Figure 16
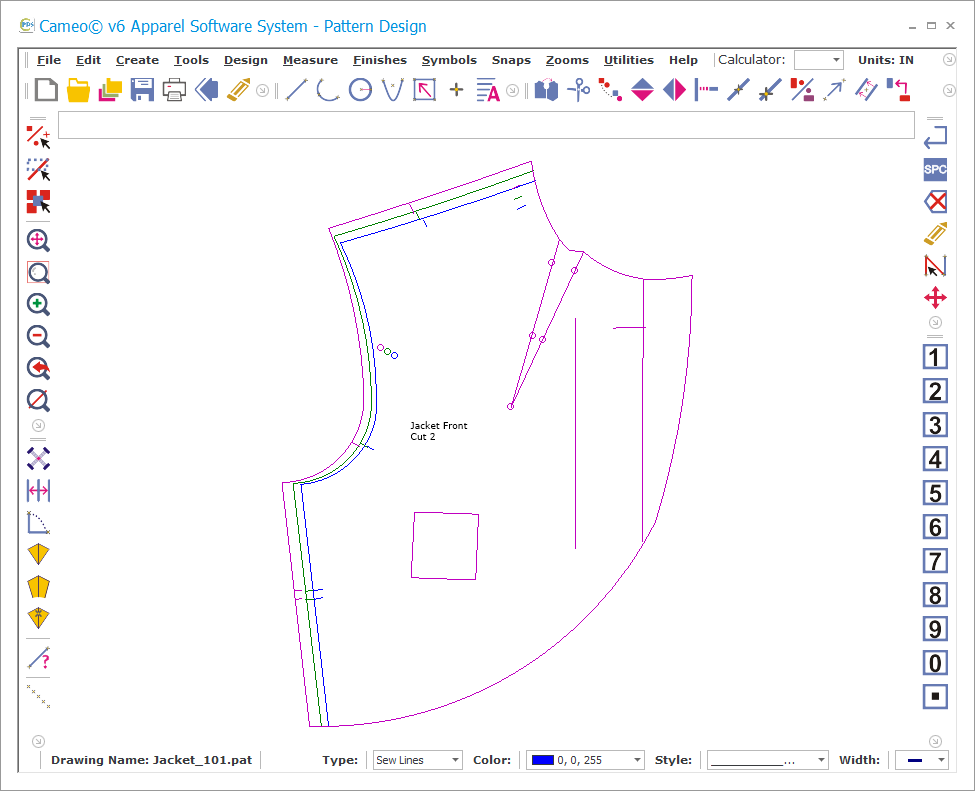
Figure 17