Evening Wrap by Joellyn Keranan
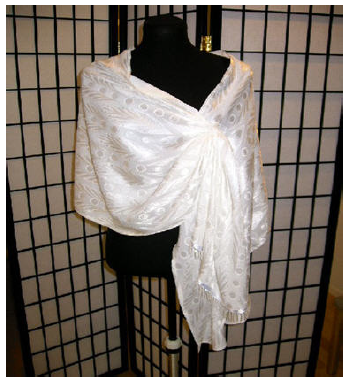
Decide how long you want the wrap to be. The finished wrap is 80”. You will probably need a minimum of 70”. You may want to make up a sample. Also, experiment with where you want to place the opening. This had to be moved back from the point and to the top of the wrap to work with soft material.
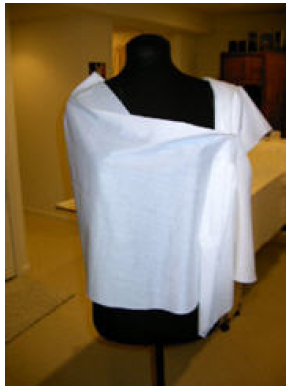
Draft and Print the Patterns
- Launch Wild Things and go to Create Patterns.
- Select Evening from the Wraps section.
- Set the desired length and width.
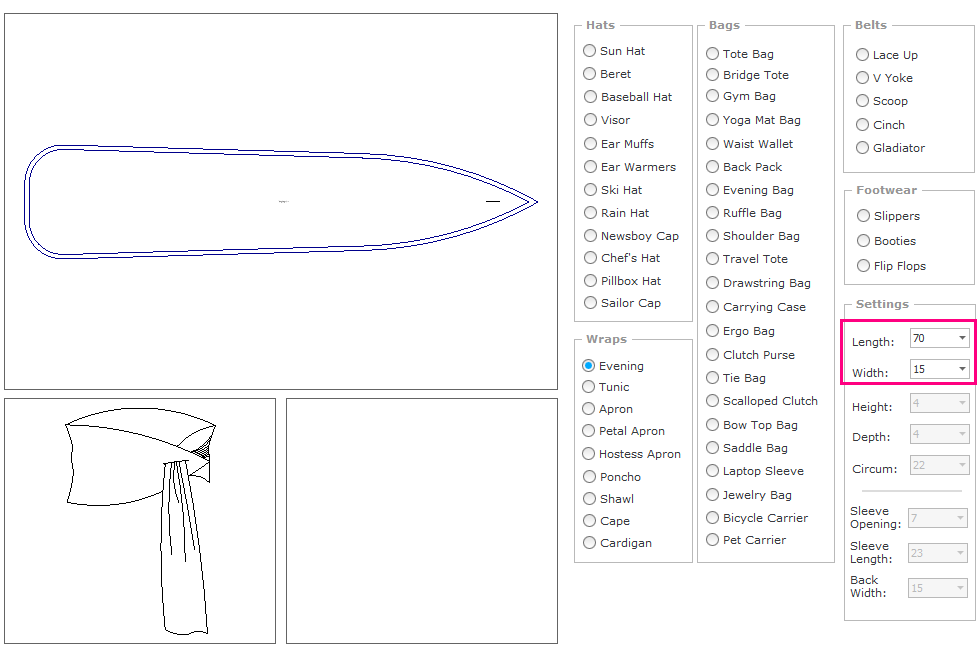
- Press the Next button on the Create Pattrns screen and then press the Print button on the Finish Patterns screen.
- Print the pattern.
Assemble the Wrap
- Cut out your fabric. This is slippery, sheer fabric so fabric and lining were cut out separately.
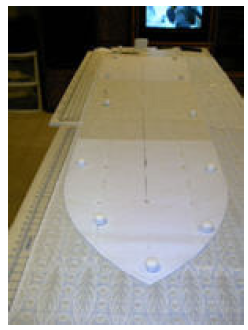
- Follow directions in the Sewing Guide for assembling the evening wrap. Because of the sheerness of the fabric, once the top and lining were stitched together, I serge finished the edges using a narrow 3 thread stitch, then turned it.
- Some beaded trim is added for sparkle and to weight the end to be pulled through. Use a zipper foot to attach trim.
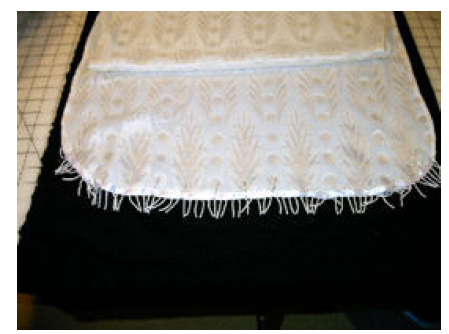
- I did not make a buttonhole as the fabric is too delicate. I made a tube from a lengthwise piece of fabric, 3 in (7.5 cm) long by 1.75 in (4.5 cm), stitched a .375 in (1 cm) seam, serge finished it, then turned it, trimmed the ends a bit, turned under the ends, and stitched them to the wrap at my markers.
- The loop does not show in the finished picture above, but the beaded end of the wrap has been pulled through it. The direction of the wrap has been reversed.


