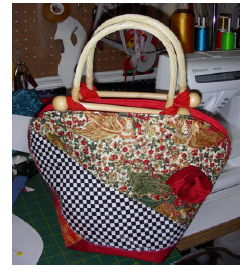
Bucket Bag by Shelley Doyal
Draft and Print the Patterns
- Open Wild Things and select Gym Bag. Enter a width of 14 inches (35 cm) and height of 14 inches (35 cm). Specify a depth of 3 inches (7.5 cm).
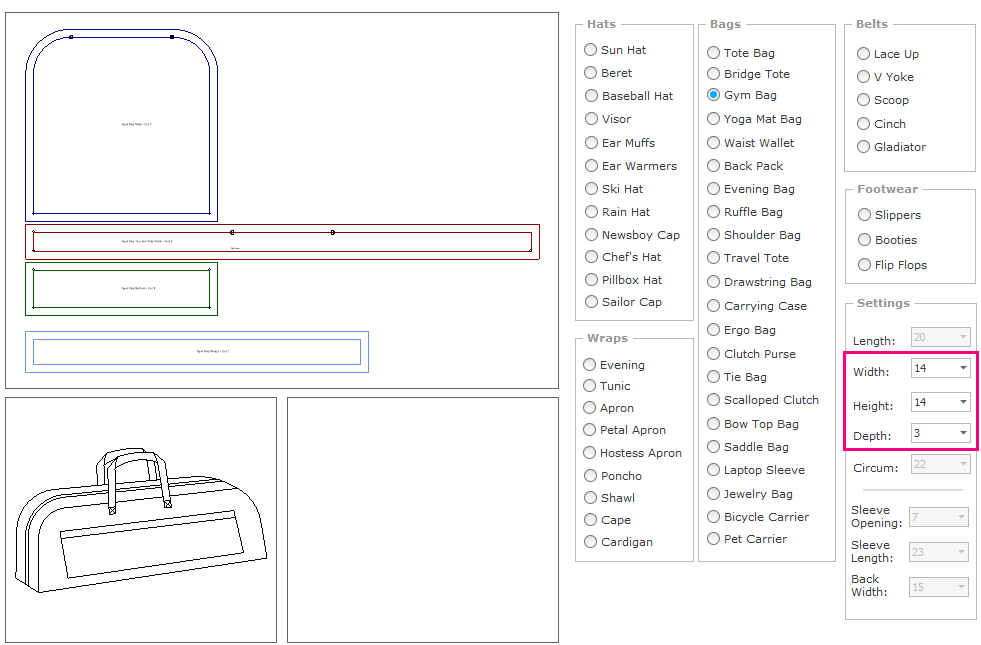
- Press the Next button on the Create Patterns screen.
- Press the Print button on the Finish Patterns screen. You are only going to use the bag body and the bag strap pieces.
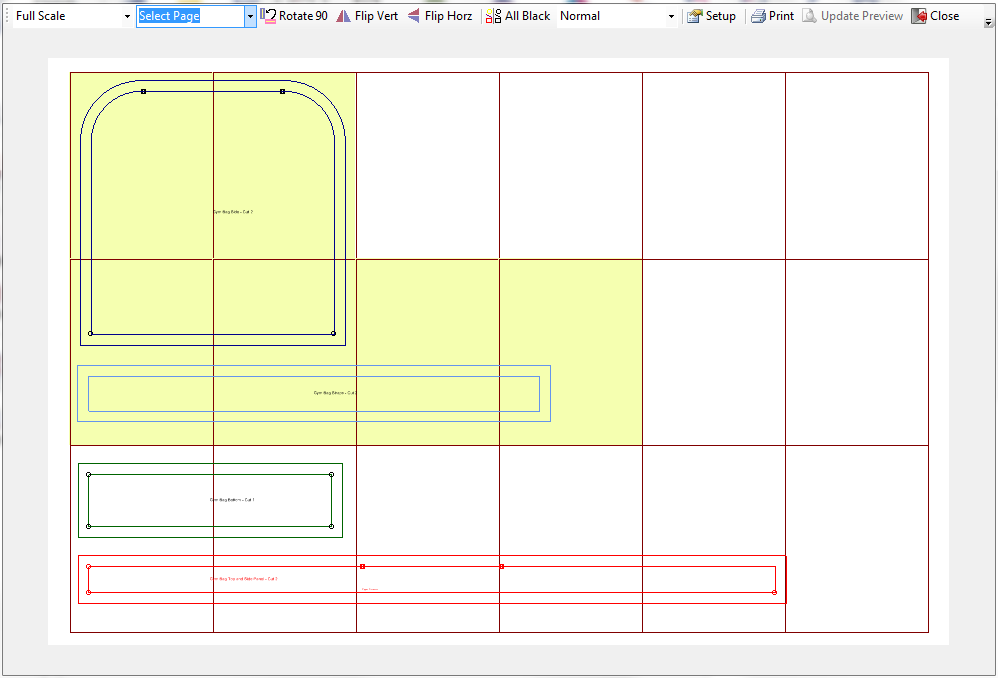
- Move the pieces around on screen while you are in the Select Pattern mode so that the bag side and strap pieces are in the top left area as shown below.
- Switch into Select Page mode and then click on each of the first 3 sheets in the first and the first 4 sheets second row. This will allow you to print only the pieces you need for the project.
Assemble the Bag
- Cut out a piece of muslin to be the base for the front from a bag side pattern. Cut a piece of fabric to form the bag back. Cut two pieces of the fabric you used for the back from the bag strap pattern. Lastly, cut two pieces of lining from the bag side pattern.
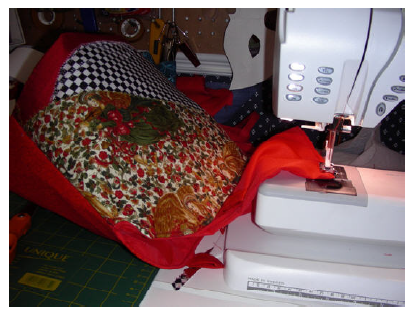
- Lay the muslin down on a flat surface and spray with a quilt basting spray or other temporary fabric spray adhesive. Place scraps of fabric overall
in a pleasing configuration that you will be able to secure with decorative stitches.
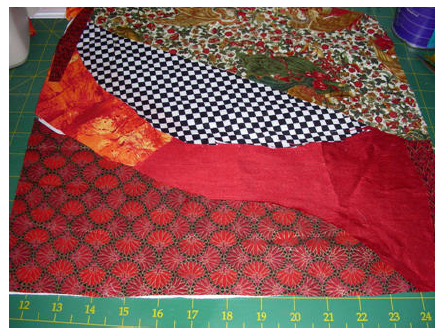
- Smooth or iron down the fabric so that it forms a bond with the muslin.
- Sew all the raw edges with decorative stitches and thread that will enclose the raw edge and add design interest to the front of the bag.
- Iron the muslin onto a piece of very stiff interfacing. I used Timtex (used for making fabric bowls) for this bag. I think placemat interfacing might be just stiff enough without giving the awkwardness that wrestling with Timtex does.
- Timtex has the advantage of having iron-on adhesive on both sides, but spray on adhesive or a product like Stitch Witchery would do just as well on a softer interfacing.
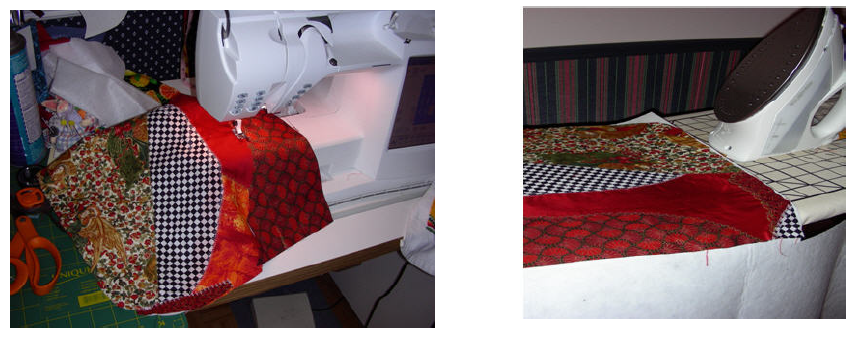
- Prepare a plain back in the same way or use the same technique to make a pieced back. Sew the front and back together, right sides together, beginning and stopping at the point where the top begins to curve. You have a purse that looks like a curved top envelope at this point.
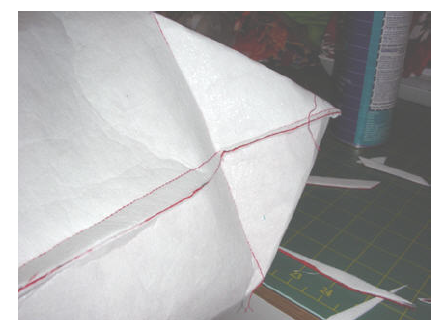
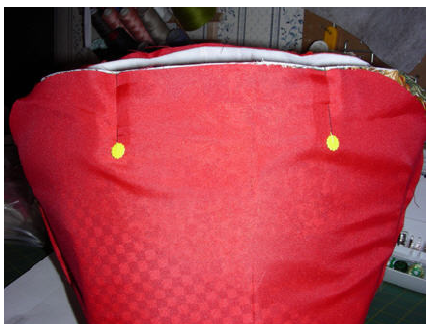
- Measure a spot in from each side along the bottom and side seam equidistant from the corner. I used four inches, but in hindsight think that I might like three inches better.
- Press the corner down and sew a straight seam across the tip.
- Turn the bag right side out and set aside while you prepare the lining and straps.
- Sew a bright colored lining along the sides only, leaving the bottom completely open so that it will fit around this stiff bag.
- From the piece that you cut for gym bag straps, you can do one of two things. Adhere to a piece of interfacing and top stitch the entire length then cut in two to make self straps. Or do as I did and use just the amount you need to make loops to attach a purchased handle. Either way, a double fold with encased raw edges is top stitched down the length of the desired piece.
- Pin the straps (loops) in place with the bag lining inside out over top. This gives you a right sides together seam to stitch.
- Sew the lining to the bag across both tops then top stitch the outside top of the bag. The interfacing is so stiff that this is necessary to
keep the lining below the right side of the bag. Fold raw edges together of the lining bottom and top stitch the bottom together. It is
not necessary to fold the points of the lining as the fabric is so pliable that it will just sit folded in the bottom of the bag.
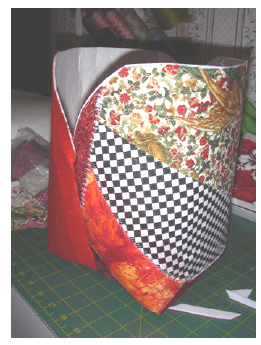
- Stuff the lining down into the purse and add handles (or flip up the ones you made of self fabric.
- Steam or iron the purse into the shape you would like. It will make a square bucket following the lines you sewed on the bottom, or you can press the sides as I have done and get an angled envelope style bag.